
Table of Contents
Your site feels slow. Your host keeps sending upsell emails. Support takes two days to reply, and last month's traffic spike took everything offline. Sound familiar? Then it may be time for a WordPress hosting migration.
Moving a WordPress site sounds scary, and it can be if you rush. One missed file or one wrong DNS record, and you lose visitors, orders or rankings. The good news is that the process is very predictable. Follow the right order, test before you switch, and your visitors will never notice.
In this guide, we explain the whole process in plain language: why teams migrate, what to prepare, three ways to move your site, a step-by-step walk-through, and how to protect your SEO. Whether you are a developer, a tester, a CTO or a marketer who just got handed this task, you will find something useful here.
What Is a WordPress Hosting Migration?
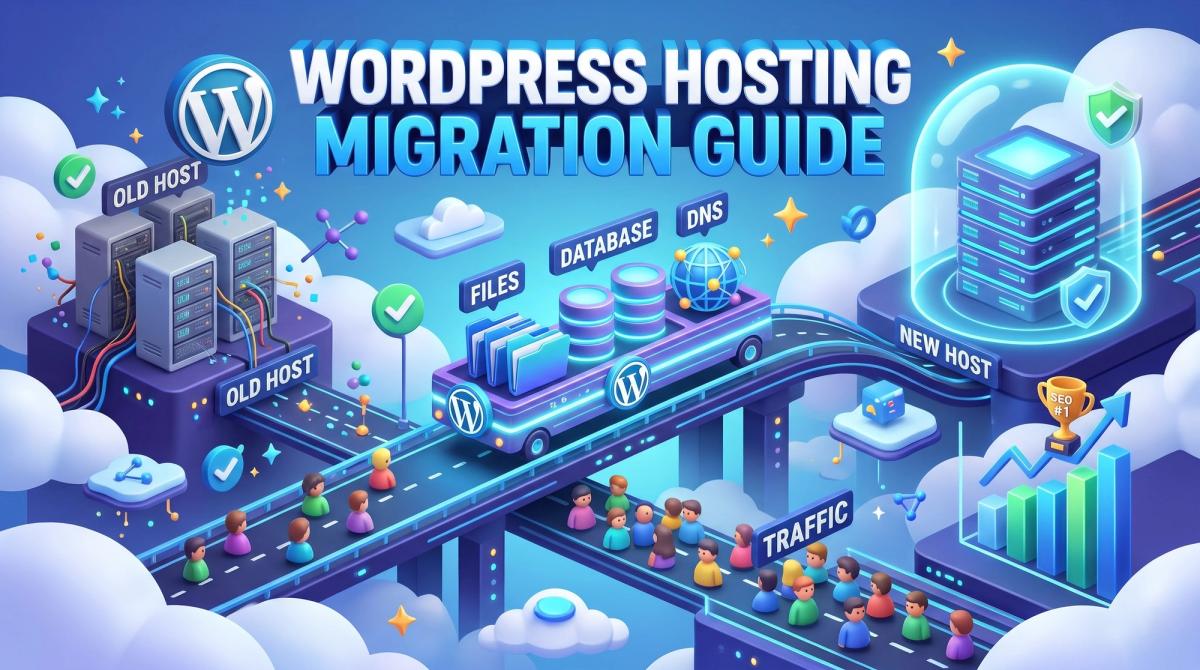
A WordPress hosting migration means moving your whole website from one web hosting provider to another. That includes three things: your files (themes, plugins, uploads), your database (posts, pages, settings, users) and your domain settings (DNS and SSL).
Many people use "WordPress migration" and "website migration" as if they mean the same thing, but they are slightly different. A hosting migration changes only the server. Your design, URLs and content stay the same. A full website migration may also change the domain, the theme or the URL structure, which carries far more SEO risk. This guide focuses on the first kind: same site, new home.
When it is done well, a hosting move is invisible to visitors and search engines. Same URLs, same content, same rankings, just a faster and more stable server underneath.
Why Do Teams Move to a New Host?
Nobody migrates for fun. Most teams move because something at the old host stopped working. These are the most common triggers:
- Slow load times. A high Time to First Byte (TTFB) hurts user experience and Core Web Vitals.
- Frequent downtime. Poor uptime costs sales, leads and trust.
- Traffic growth. Shared hosting often cannot handle spikes, so you need a VPS, cloud or managed WordPress hosting plan.
- Security worries. Old PHP versions, no malware scanning or no firewall are all red flags.
- Weak support. When your site breaks at 2 a.m., you need a real human, not a chatbot loop.
- Cost. Renewal prices jump, or you pay for features you never use.
- Better tooling. Staging sites, Git deployment, WP-CLI access and automatic backups make development easier.
If two or more of these sound familiar, start planning. Just do not migrate in a panic, and never during a big campaign or sale. A calm, planned move always beats an emergency one.
Speed matters for content sites too. Our guide on blog design for high traffic shows how page speed and site structure work together to earn steady organic visits.

Before You Start: Your Pre-Migration Checklist
Most migration disasters come from poor preparation, not poor execution. Spend an hour on this checklist and the rest gets much easier.
- Take a full backup. Back up files and database, and keep a copy off the server. Use your host's tool or a plugin such as UpdraftPlus.
- Audit your site. Note your WordPress version, PHP version, active plugins and any custom code in
wp-config.phpor.htaccess. - Check the new host. Confirm it supports your PHP version, MySQL or MariaDB version, memory limits and special needs such as multisite.
- Lower your DNS TTL. Set the TTL on your DNS records to 300 seconds (five minutes) at least 24 hours before the move. This makes the final switch much faster.
- Record your current setup. Save your DNS records, email settings, cron jobs and SSL details. Email is the most forgotten piece.
- Save a performance baseline. Run speed tests and note your current rankings and top pages. You will compare against these later.
- Freeze content changes. Ask editors to pause publishing on migration day, so no new posts or orders get lost.
- Pick a quiet time. Choose the lowest-traffic window you can find.
Pro tip: if your site has WooCommerce orders or user sign-ups, plan a short content freeze or a final database re-sync just before go-live.
Three Ways to Migrate a WordPress Site
There is no single "best" method. The right choice depends on your site size, your skills and your risk tolerance.
1. Use a migration plugin
Plugins like Duplicator, All-in-One WP Migration and WP Migrate package your site and unpack it on the new host. They work well for small and medium sites. Watch out for upload size limits and timeouts on larger ones.
2. Migrate manually
You copy files over SFTP, export the database with phpMyAdmin or WP-CLI, import it on the new server and update wp-config.php. This gives you full control and works for any site size. It takes more time and technical comfort, which is why developers usually prefer it for complex sites.
3. Ask your new host to do it
Many hosts offer free or paid migration. This is the easiest route, but check what is included, how they test the result and how long it takes.
For large, high-traffic or business-critical sites, many teams bring in a specialist. Our team offers WordPress development services, including safe hosting moves and post-migration fixes.

Step-by-Step: How to Migrate a WordPress Site to a New Host
Here is the manual process most developers follow. It works with almost any host.
- Set up the new hosting account - Create the account, pick your PHP version, and create an empty database and database user.
- Copy your files - Download your whole WordPress folder from the old server using SFTP or rsync, then upload it to the new one. Include
wp-content, themes, plugins and uploads. - Export and import the database - Export from phpMyAdmin or run
wp db export. Import it into the new database with phpMyAdmin orwp db import. - Update wp-config.php - Change the database name, username, password and host to match the new server. Double-check the table prefix.
- Test before you switch - Do not touch DNS yet. Edit your local hosts file so your domain points to the new server's IP only on your computer. Now you can browse the new site while the world still sees the old one. Click through pages, forms, logins, checkout and media files.
- Fix URLs if needed - If you tested on a temporary domain, run a search-replace on the database. Use the WP-CLI search-replace command or a trusted plugin, because both handle serialized data safely.
- Install SSL - Issue the SSL certificate on the new host before the switch, so visitors never see a security warning.
- Switch DNS - Update your A record (or nameservers) to point to the new server. Because you lowered the TTL, most visitors reach the new server within minutes or a few hours. Full DNS propagation can still take up to 48 hours in some cases.
- Keep the old host alive - Do not cancel the old plan for at least a week. It is your safety net if something goes wrong.
- Re-test and clear caches - Flush the page cache, object cache and CDN cache. Re-save your permalinks under Settings, then Permalinks, to refresh rewrite rules.

How to Protect Your SEO During a Hosting Migration
A hosting move should not change your rankings. But small mistakes can quietly hurt them. Here is how to stay safe:
- Keep URLs identical. Same slugs, same structure, same canonical tags.
- Do not block search engines. Staging sites often use the "discourage search engines" setting. Make sure it is unchecked after launch, and check robots.txt and noindex tags too.
- Check redirects. Copy your
.htaccessor server redirect rules and test your old 301 redirects. - Watch server speed. Compare TTFB and Core Web Vitals with your baseline. A good migration should improve them.
- Submit your sitemap. Re-submit your XML sitemap in Google Search Console and watch crawl stats and errors for a few weeks.
- Verify analytics and tags. Confirm Google Analytics, Tag Manager and conversion pixels still fire.
- Monitor your logs. Look for spikes in 404 and 5xx errors.
Technical SEO is where migrations succeed or fail. If you want an expert eye on crawl errors, redirects and speed after the move, explore our technical SEO services. For a wider growth plan, see our SEO services, and read the Testriq organic growth case study to see what steady organic growth looks like in practice.
Post-migration testing checklist
After the switch, spend the first 48 hours testing. Use this quick list:
- Open the homepage, top landing pages and a few older blog posts.
- Test forms, search, login, checkout and file downloads.
- Confirm HTTPS works everywhere with no mixed content warnings.
- Check that email sends and arrives, especially if your DNS includes MX records.
- Make sure scheduled tasks (WP-Cron) and backups still run.
- Compare speed and uptime with your baseline.
- Test on mobile and in more than one browser.
If you run many sites, automate the boring parts. Uptime alerts, broken-link scans and speed reports can flow straight into your team chat. Our AI workflows and automation services can help you set that up.

Common WordPress migration mistakes to avoid
- Skipping the backup. Always keep a copy somewhere other than the server you are replacing.
- Changing DNS before testing. Test on the new server first, always.
- Forgetting email records. Moving DNS without copying MX and TXT records breaks email.
- Ignoring PHP and plugin compatibility. An old plugin may fail on a newer PHP version.
- Cancelling the old host too early. Wait at least a week.
- Leaving search engines blocked. Check this on day one.
- Moving during peak traffic. Pick a quiet window instead.
WordPress Hosting Migration FAQs
How long does a WordPress hosting migration take?
A small site can move in one to three hours. Larger or custom sites may take a day or more, including testing. DNS changes can take up to 48 hours to spread fully, though most users reach the new server much sooner.
Will migrating hurt my SEO?
Not if your URLs, content and redirects stay the same and the new server is at least as fast. Rankings may wobble for a few days at most, and a faster host can even help.
Can I migrate with zero downtime?
Yes. Test on the new server first, lower your TTL, and switch DNS only when the new site is fully ready. During propagation, visitors see either the old or the new site, and both work.
Do I need a developer to migrate WordPress?
For a small blog, a plugin or your host's migration service is often enough. For WooCommerce, multisite or high-traffic sites, bring in an expert.
Final Thoughts
A WordPress hosting migration is simply a careful copy, test and switch process. Back up first, test on the new server before touching DNS, protect your URLs and redirects, and keep the old host as a safety net. Do that, and neither your visitors nor Google will notice anything except a faster site.

If you want a hand, the team at Cinute InfoMedia builds and maintains WordPress websites as part of our web design and development services. Ready to move without the stress? Contact us for a free digital audit.
Related Services
Related Articles

SDLC Explained: A Simple Guide to the Software Development Life Cycle
The software development life cycle (SDLC) is the roadmap every successful software project follows. This easy guide explains the 7 SDLC phases, compares popular models like Agile, Waterfall and DevOps, and shares best practices for developers, testers, CTOs and product managers.

Top 10 SaaS Development Tools for 2026: Build, Test and Scale Smarter
Building a SaaS product is easier when you pick the right stack from day one. Here are the top 10 SaaS development tools for 2026, covering coding, backend, testing, billing and cloud hosting, with simple advice on when to use each one.

Java Spring Boot Microservices: A Simple Guide for Tech Teams
Java Spring Boot microservices help teams build fast, scalable and easy-to-maintain systems. This simple guide explains the architecture, key tools, testing and best practices for developers, testers, CTOs and product managers.